Telefon
+386 (0)8 205 08 77
(08.00 – 16.00 CET)
Raspberry 4 3d Printed Case Manual:

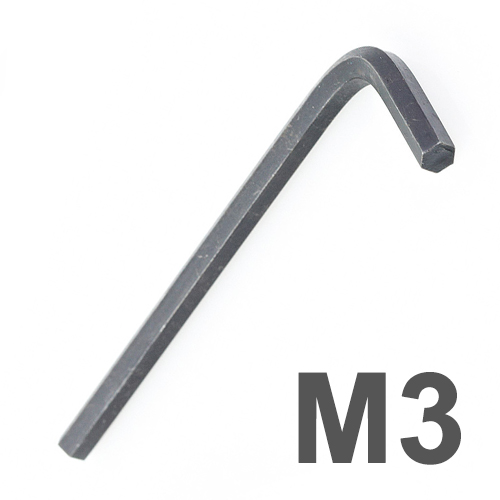
STEP 1 - All the required tools
|
|
 |
The kit is not included! 1x Phillips screwdriver |
 |
|
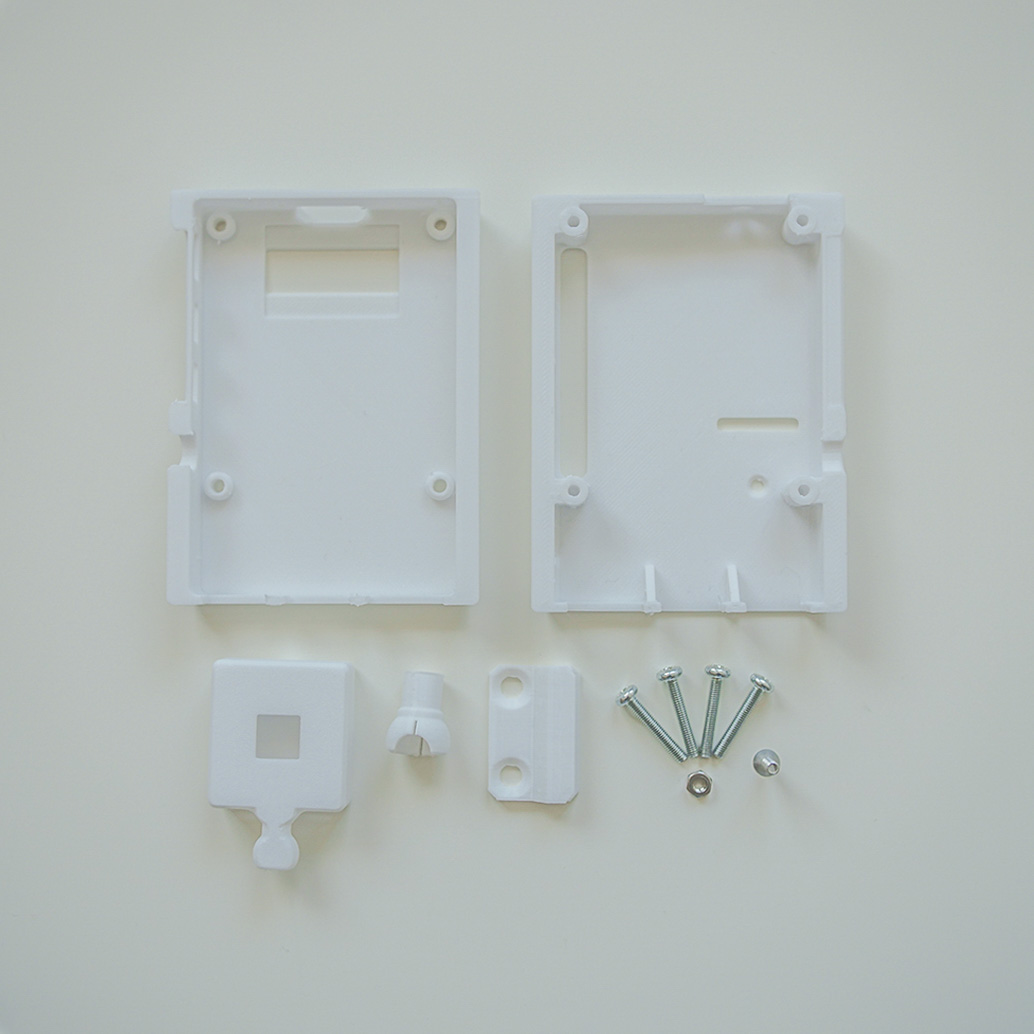
STEP 2 - Labels guide
|
|
|
All the bags including parts for the build. 1x M3x12 screw 1x RPI4 case |
|
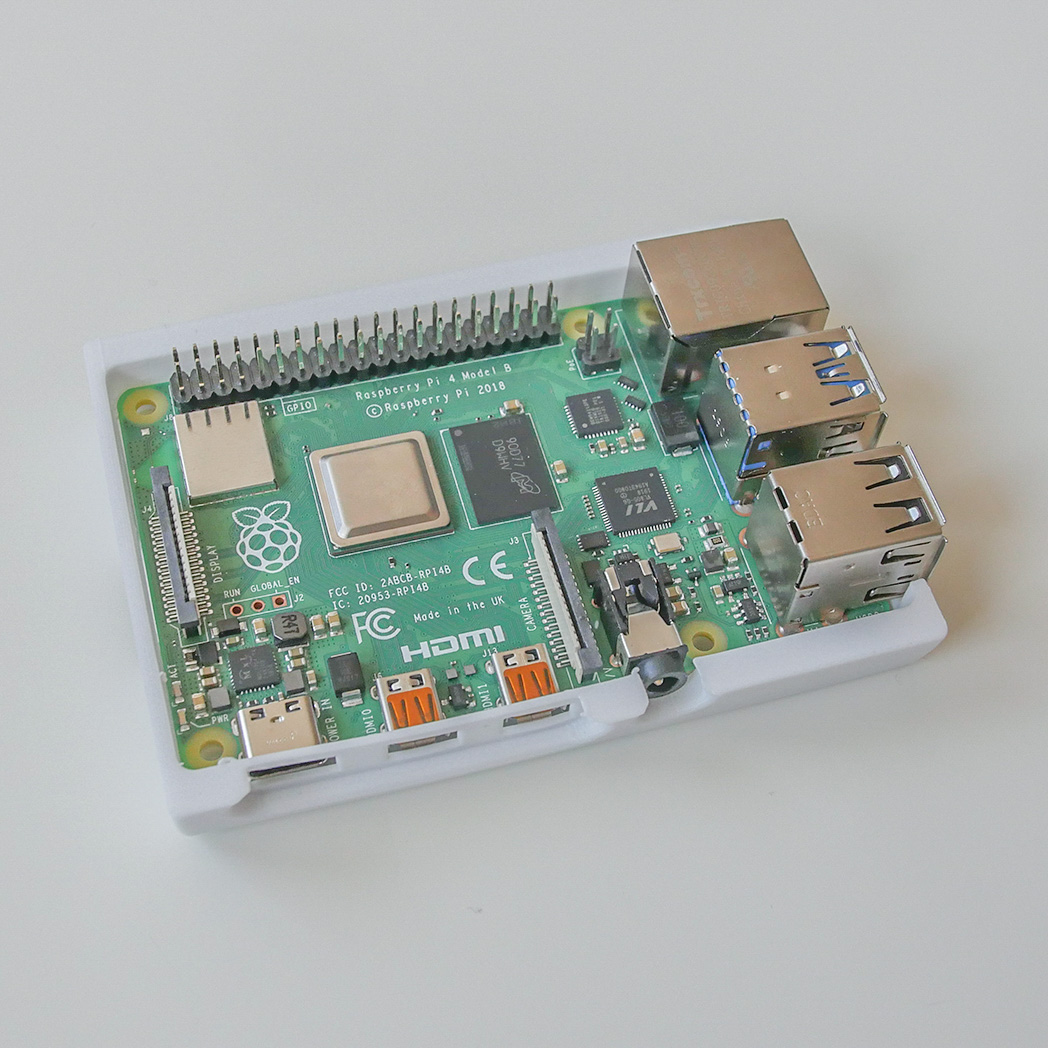
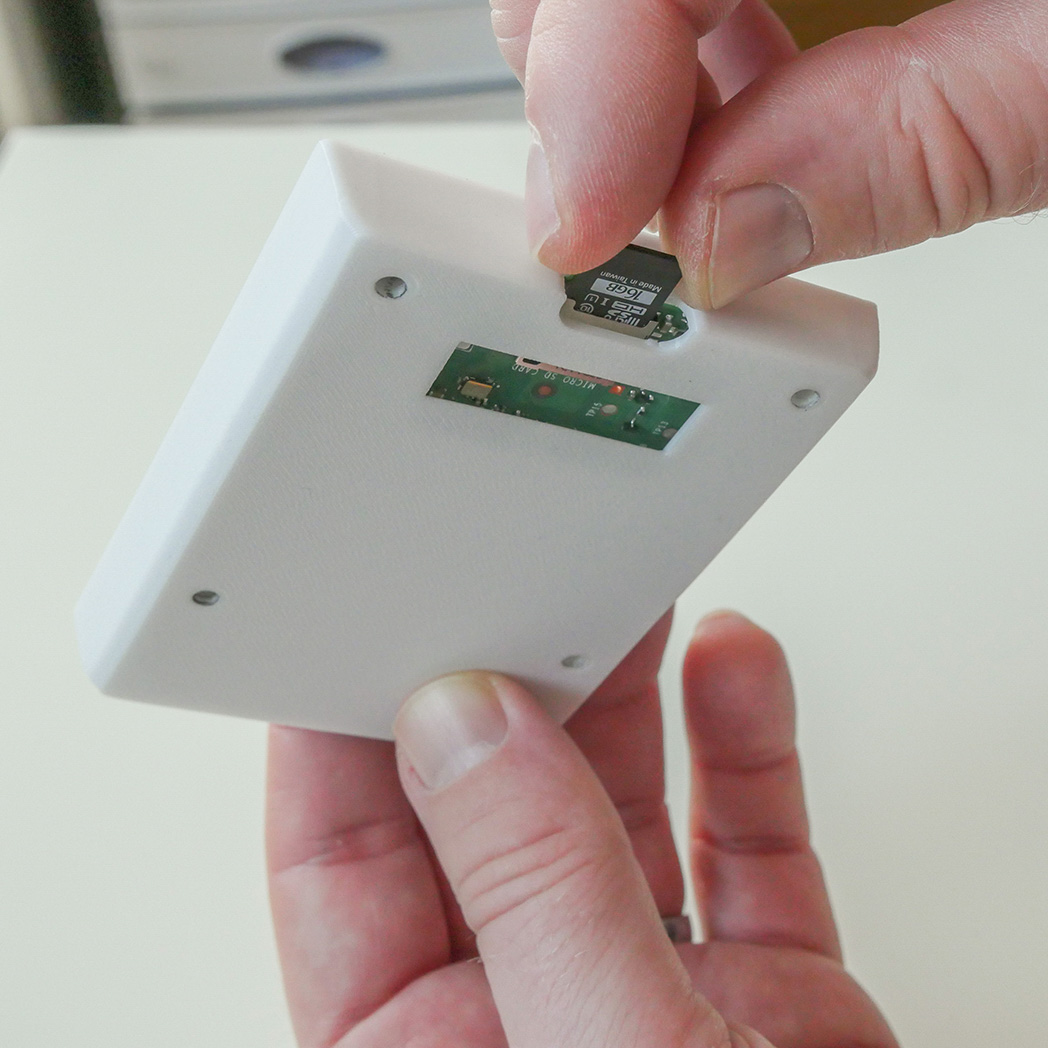
STEP 3 - Insert RPI4 and SD card
|
|
 |
 |
|
2. Insert the SD card into the RPI4 |
|
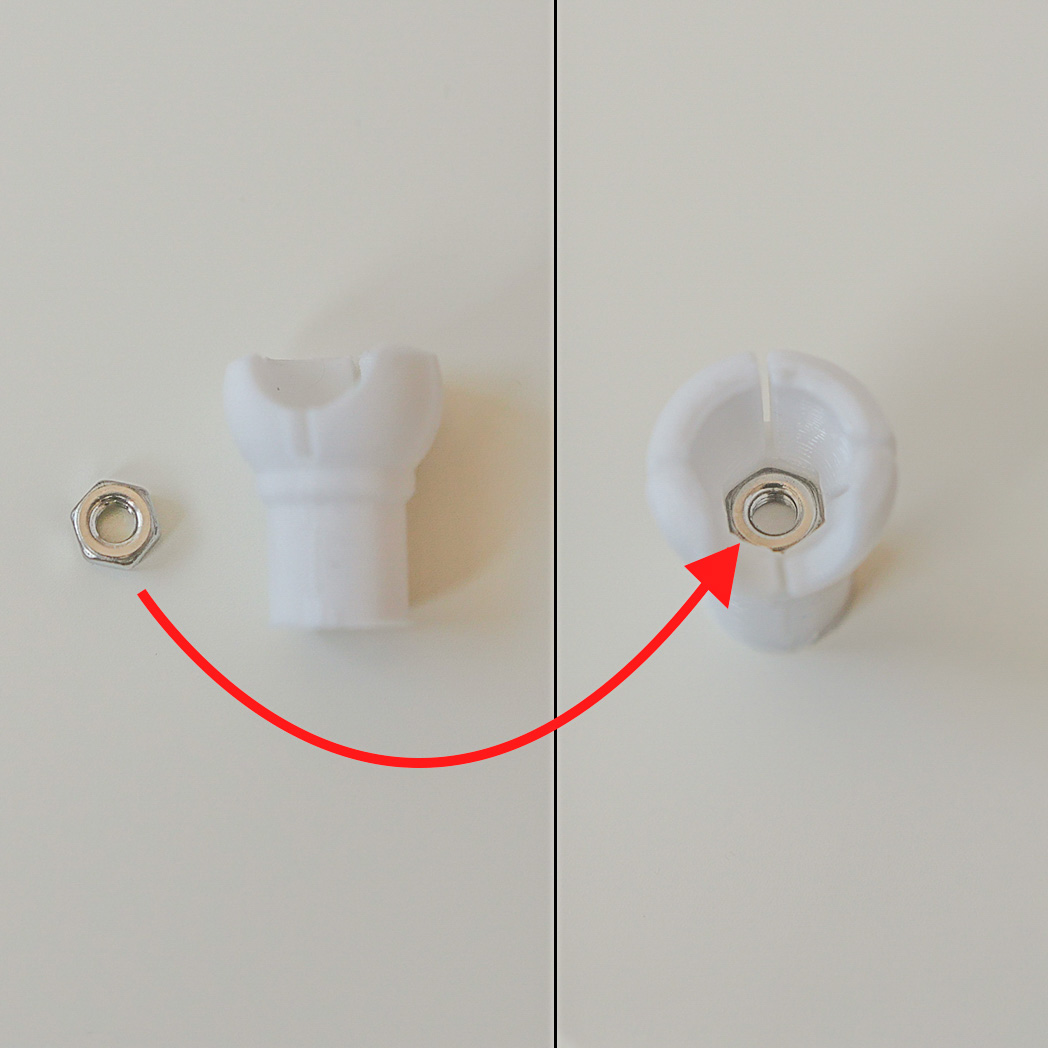
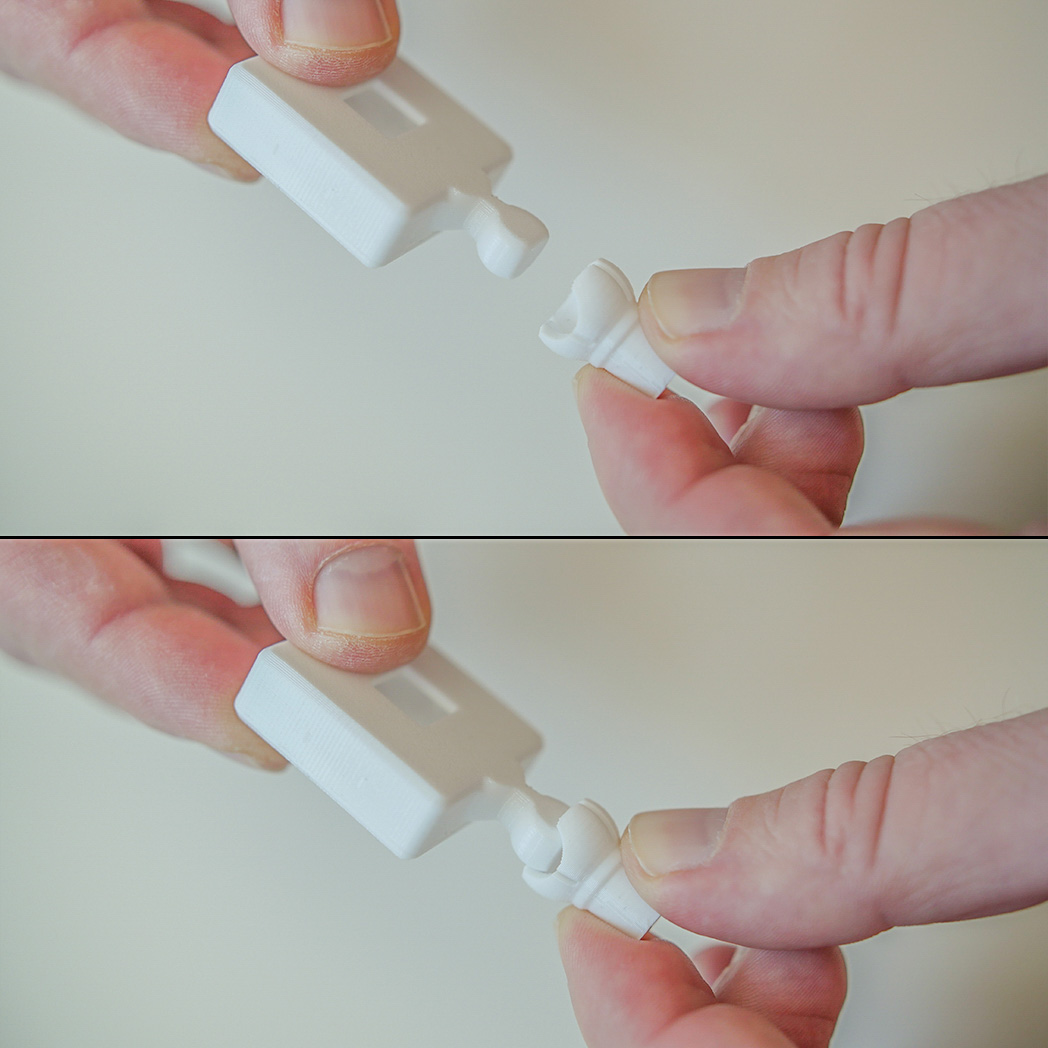
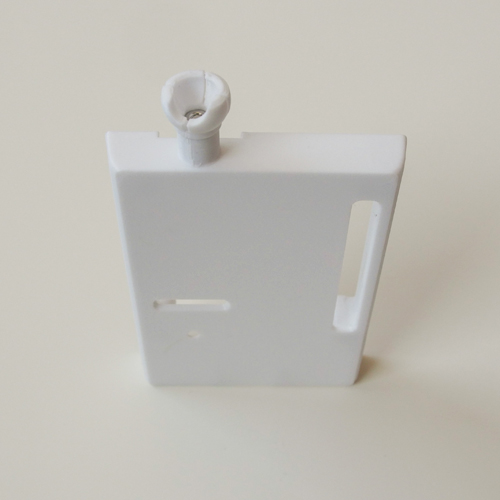
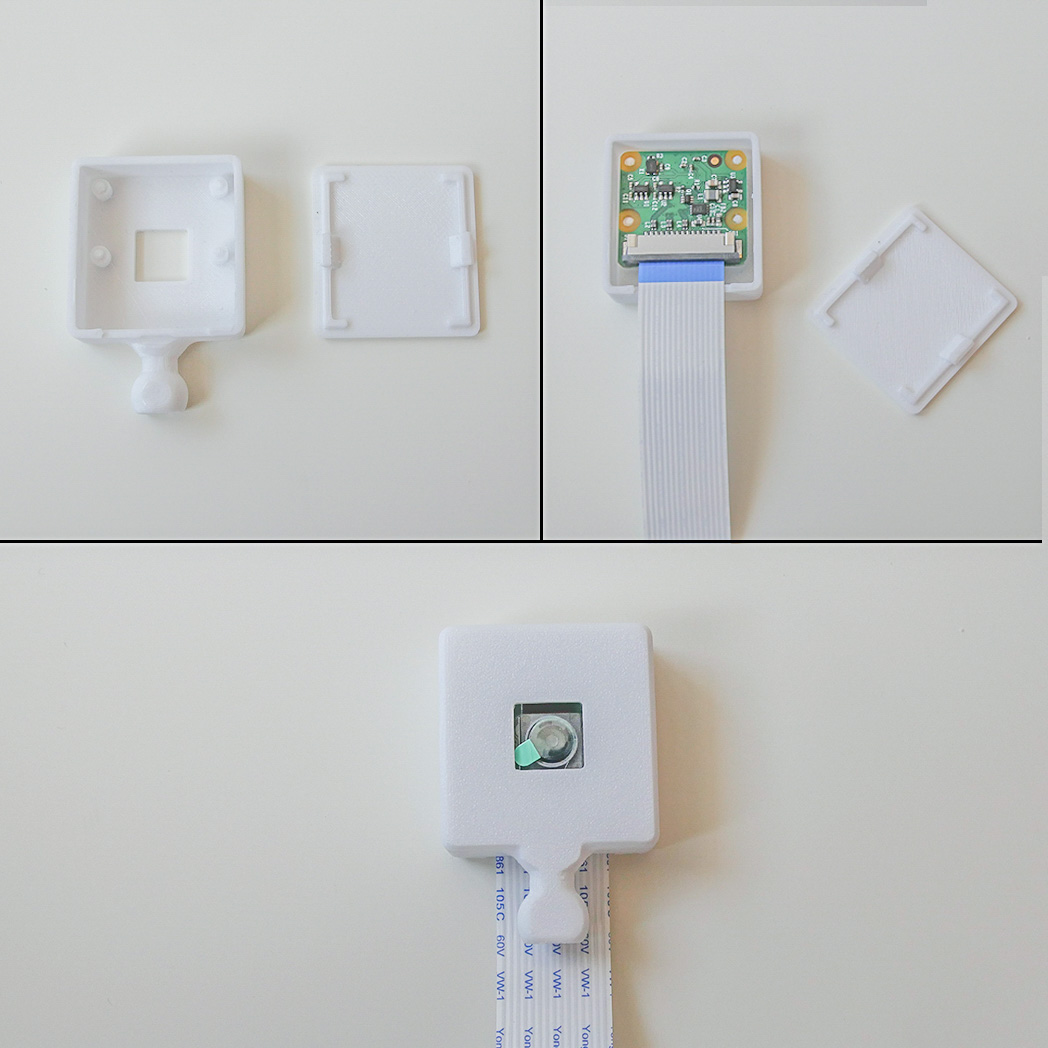
STEP 4 - Camera holder assembly
|
|
 |
 |
|
2. Connect "Cam case" and "Cam holder" as you see it on the picture |
|
STEP 5 - Mount the Cam into the RPI4 case
|
|
 |
 |
|
|
|
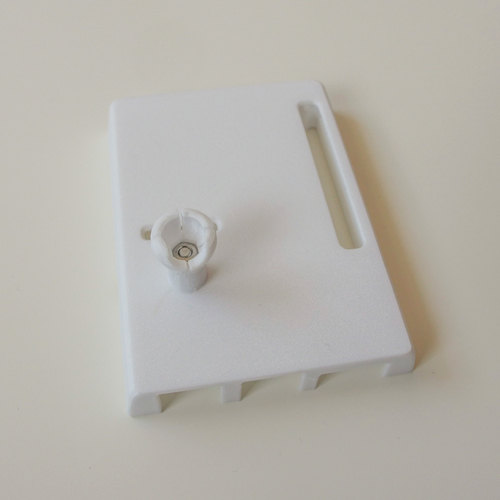
STEP 6 - Insert the Cam and tighten the case
|
|
 |
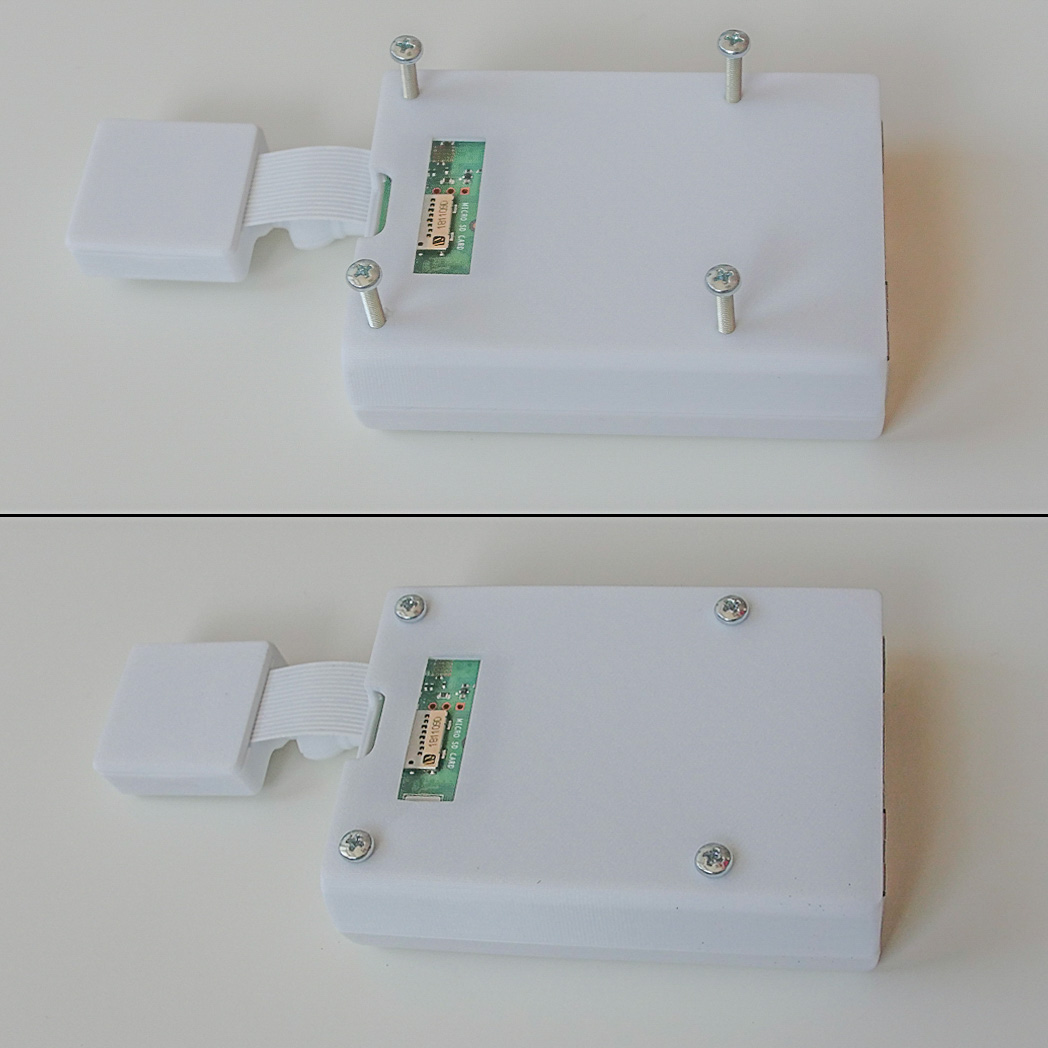 |
|
|
|
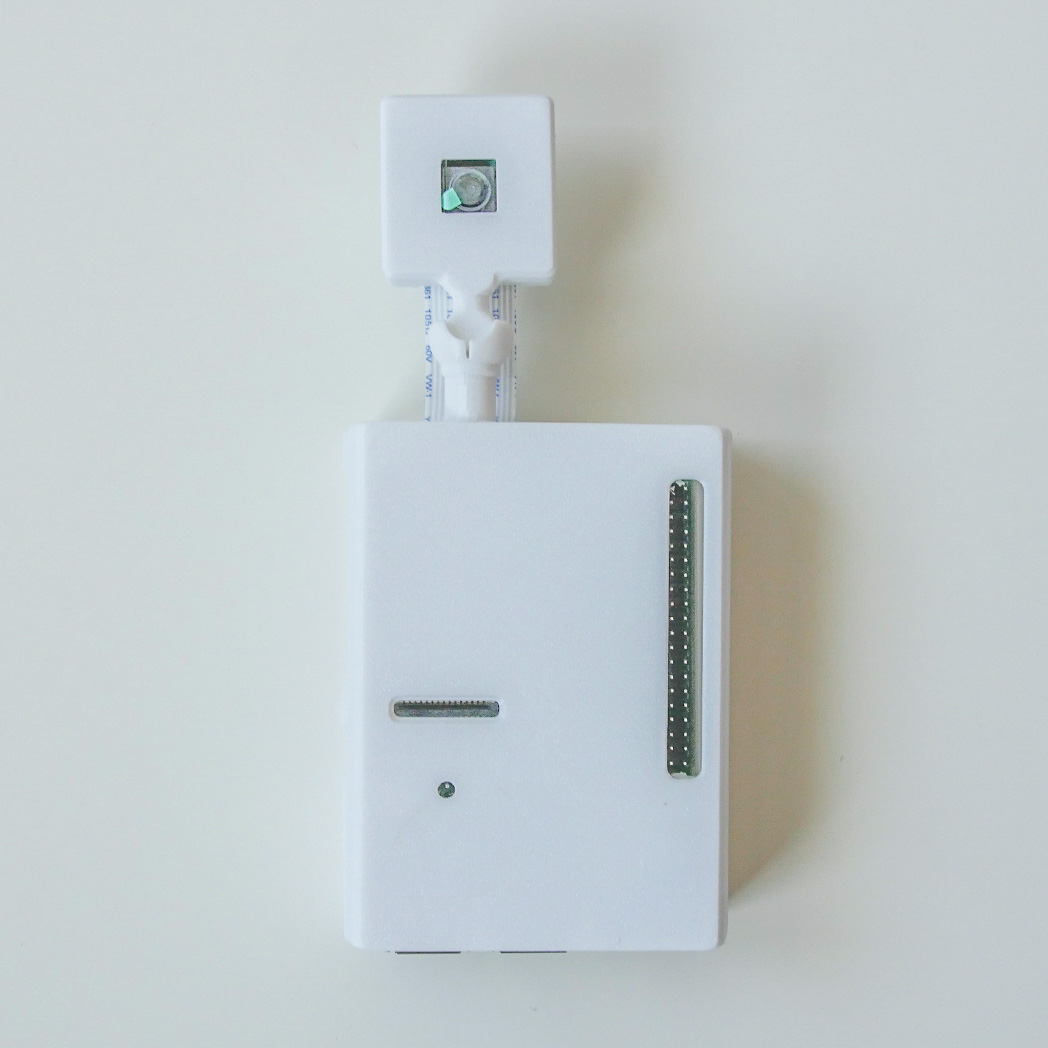
Congratulations, you've just assembled the RPI4 Case.
The filnal product should look like that: